With GitLab Pages, you can easily publish your own static website directly from your GitLab project. This guide will walk you through the process step by step.
Create a project
First, create a new project by following these instructions. Alternatively, you can use our sample project for creating your own static website on openCode, which can be found on this page. The project contains an example of a GitLab page with a customized openCode theme. The basis corresponds to this screenshot and can be changed as desired:
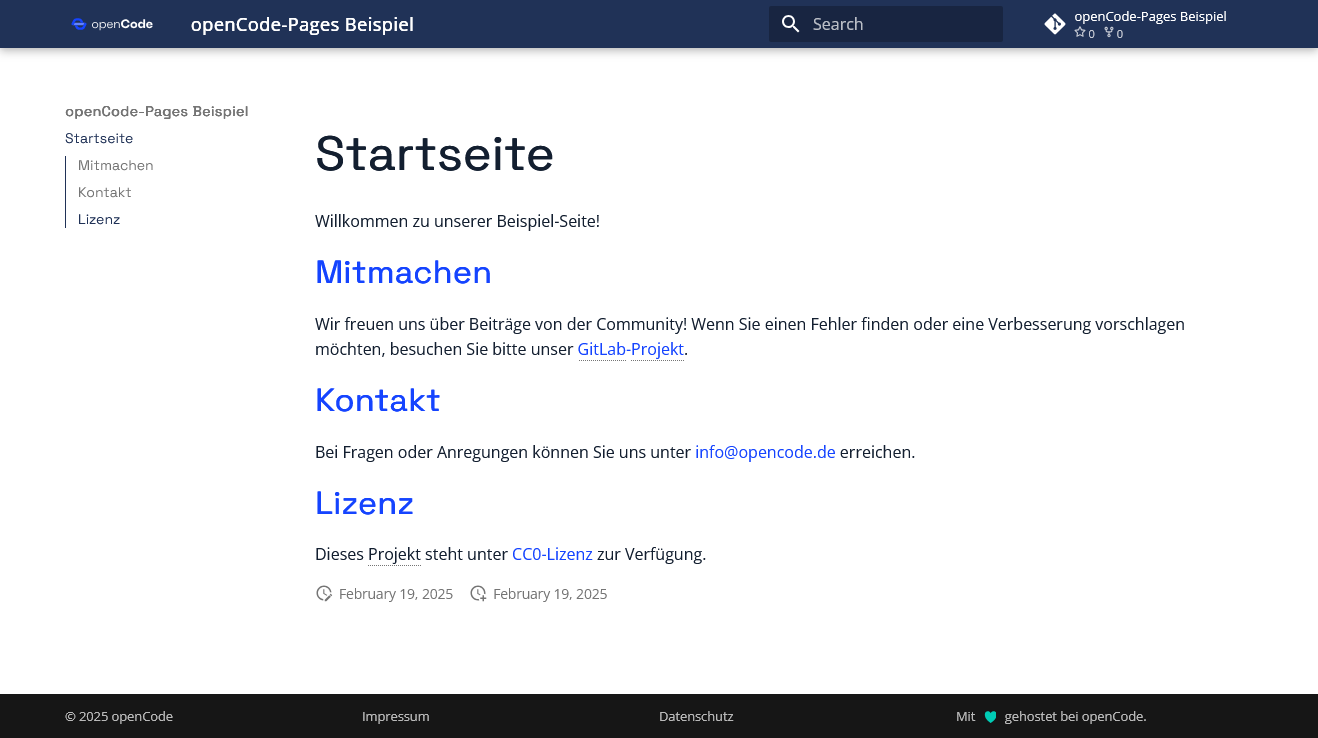
Of course, you can also use other themes or generators, or you can use your own HTML files—this is often the easiest way.
Configure pages
The mkdocs.yml file controls the appearance and structure of your website. Customize it as follows:
Set page title
Specify project URL and name
Include logo and favicon
Add your own content
-
The home page of your website is located in the file docs/index.md. Customize the content according to your preferences, e.g., with a welcome message or a short project description.
-
Customize the legal information on your site:
- Imprint: Edit the file docs/legal/impressum.md.
- Data protection: Edit the file docs/legal/datenschutz.md.
- Copyright notice: Change the entry in mkdocs.yml.
-
Expand your website with additional pages:
- Create new Markdown files (
.md) in the docs/ folder, e.g.,about.mdfor an “About us” page. - Add the new pages to the navigation in mkdocs.yml:
- Create new Markdown files (
Customizing the design
- Edit the file
docs/style/extra.cssto change the appearance of your page. This requires CSS knowledge. - Add images to your Markdown files by adding them to the
docs/assets/images/folder. - Use a glossary: In the
includes/abbreviations.mdfile, you can define terms that are highlighted and explained on your page.
Setting up the CI/CD pipeline
The .gitlab-ci.yml file controls the automatic build and publication of your website. This configuration ensures that your website is automatically built and published every time you push to the main branch.
-
Create a file called
.gitlab-ci.ymlin the root directory of your project. -
Add the following content:
Frequently asked questions and problems
Where can I find the link for my project's website?
After successful setup, you can find your published page at: https://PROJEKT_NAME.usercontent.opencode.de
Alternatively, you can also view the link to your project's website in your project under Settings > Pages.
How can I password-protect a GitLab page?
To create a password-protected GitLab page, follow these step-by-step instructions.