Creating and managing groups
Groups help you bundle multiple projects under one organizational umbrella. This is ideal for teams, government agencies, or joint projects.
When is a group useful?
- When multiple people are working on multiple projects
- When rights need to be assigned collectively
- When a joint CI/CD setup is used
How to create a group
-
Log in at https://gitlab.opencode.de
-
Select Groups > New Group from the menu

-
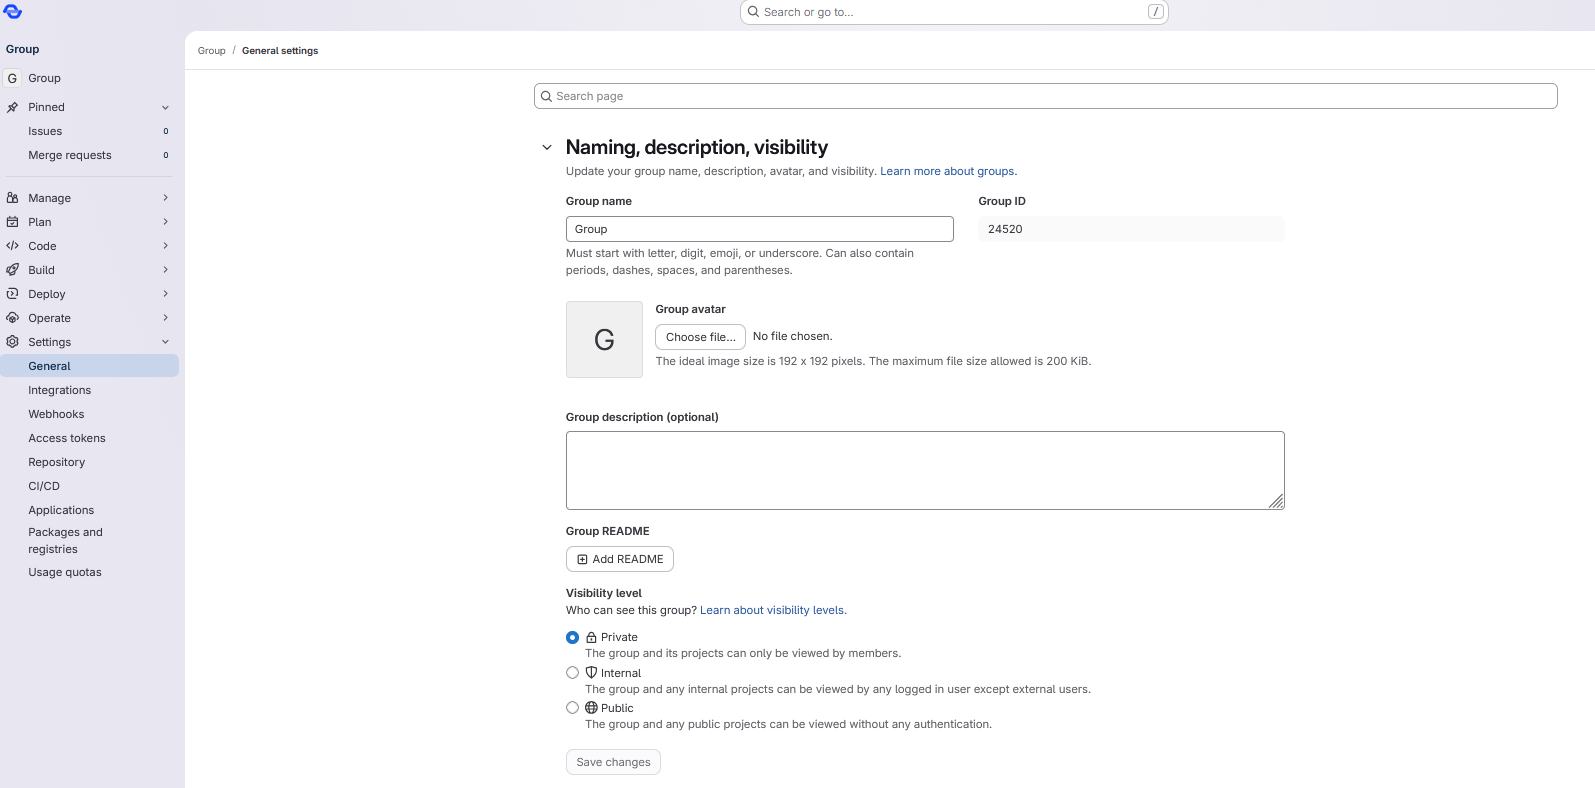
Enter: A group name (e.g., your organization), a description (see also Creating a README file), and a visibility (public, internal, private)
-
Click Create group

Manage members
- Open your group
- Click Members
- Enter email or username
- Select a role (optional: set an expiration date for the permission): Guest, Reporter, Developer, Maintainer, Owner
Info
Learn more about roles in the section: Roles in GitLab. Group or project members do not have to belong to the public administration. You can also add external colleagues with email domains that have not been approved by us to your group.
Adding a README file
It can be helpful to add a description of the content to groups.
Similar to projects, a README file can be added to a group for this purpose.
To do this, follow these steps:
- Open the group to which you want to add a
READMEfile. - Open the Settings > General tab in the left sidebar.
- Under the README for group heading, click the Add README button.
Info
If the Settings tab is not visible, it is probably because you do not have sufficient rights to edit this group. In this case, please contact the owner of the group.